Hana's Ice Castle
- Feb 8, 2018
- 2 min read

My girl is turning 3 and this year, she asked for a Frozen-themed birthday. Since I made C's Mario castle, I felt confident that I could make H her own castle!
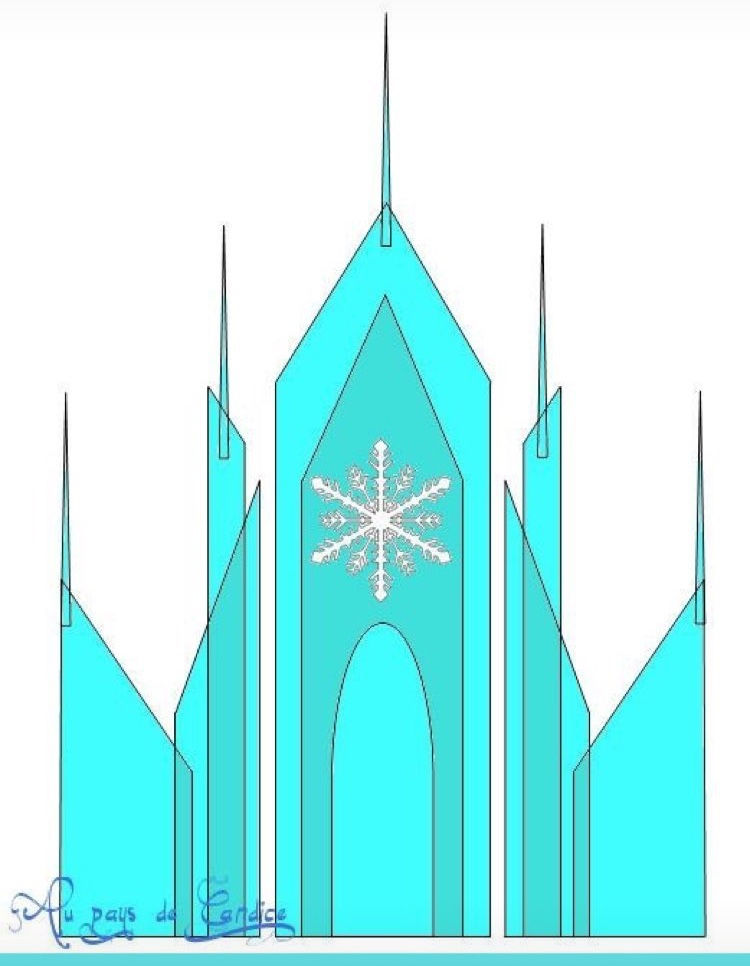
I found this beautiful template of Elsa's ice castle on Pinterest and ran to the Dollar Store to pick up some supplies.
What You'll Need
- 3x White Foam Boards
- Exacto Knife
- Glue Gun
- Glue Gun Sticks
- Dark blue, light blue, white and silver paint
- Paint brushes
- Ruler

I was super nervous at first since it was my first time creating a princess castle but the template I found was pretty straight forward and easy to replicate. I wasn't too particular with my shapes in terms of size and length, I simply eye-balled the height and used a ruler to cut my straight edges. Also, I didn't take into account that I'd need one whole foam board to use for the foundation so I only had two foam boards to work with. I used every inch I could and was left with very little scrap. If you're looking to add more pieces to your ice castle, I would buy 4 foam boards in total.

TADA, H's ice castle! She was so proud of it and asked to take photos. I really liked it all white and would have kept it that way but, H was pretty eager to start painting. I did modify the template to include the balcony there! I used a bowl and a straight edge to create the arch.

I spaced the pieces using some scrap foam board. This ensured that my spacing was even on the right and left side but also made sure that the foam board stayed in its place.

So here was the problem painting on foam board, paint warps the board! I'm not entirely sure why I didn't clue into this but once the paint started drying, I noticed my pieces were bending forward. All I did to reverse this was paint the other side and use string to pull it back. Once the back of the pieces dried, it was back to being straight.

Finished product! I used my glue gun to create icicles on the balcony and painted it silver and white. I will be adding some fake snow when H's birthday comes and including some snowflakes sometime closer to the date so stay tuned for the updated shot! Also, I added a few more pieces to the castle to add some more depth to it.
This was so much fun to make and I can't wait to set up H's dessert table.
Stay tuned for the big day!


Comments